Tuesday, November 24, 2009

How to build a reusable toolbar with Oracle ADF declarative components


This article explains how to use Oracle ADF declarative components to build a reusable toolbar that can be used throughout your application to ensure a consistent look and feel. The toolbar has navigation buttons that can be hooked up to the specific data set for which the toolbar is used.

Introduction

When building an ADF application you will no doubt come across specific cases where a component and functionality could be reused throughout the application. For example, you might decide data pages should have a specific toolbar so that navigation through your data is presented and handled in a specific way. Obviously, each instance of the toolbar would be working on a different data set and so the goal is to create a reusable toolbar that can be parameterised to that it works with different data sets when it it used.

Create a declarative component

The first step is to create a declarative component that will implement a reusable toolbar. In a new project File -> New -> JSF Declarative Component. Enter a name for the component (e.g. GeneralToolbar Component) and define a tag library name. This tag library name will be the name of the library in which the component will be stored and is the name you will see in the drop down of the component palette when you come to actually use the component.

You now have to set up the parameters that will be used to customize each instance of the toolbar. In this case you are going to define that you have four "parameters" to this declarative component. Each of these parameters will be a method call to navigate the instance on which the component is used. In the Create JSF Declarative Component dialog, click on the Methods tab and enter the names or the parameters: each method relating to a navigation action. You should also define the signature of the method you plan on hooking up to these parameters. For an ADF Action binding (which is what the various Next, Previous actions are) the type is:

javax.faces.event.ActionEvent

You can optionally define an Attribute (by clicking on the Attributes tab) with the name DataSet of type string. This will be used to optionally add a suffix to each button label (so the label could be Next Emp or it could be Next Dept with Emp and Dept being parameters supplied in the toolbar instance)

Click OK and you can now design the declarative component as you would with any ADF Faces Page.

Design the declarative component

In this case we will keep the toolbar simple, drag on a Toolbar and into the Toolbar drag and drop four Toolbar Buttons. You can optionally add icons to the buttons as well.

The next step is to hook up the method parameters to the specific attributes to which you want them associated. So, in the case of toolbar buttons, this is the ActionListener attribute. Do do this, select the button, and in the property palette go to ActionListener and click on the down arrow to the right and bring up the expression/method builder. Then under JSP Objects -> Components you will find the method parameters defined earlier. Hook up each button to the appropriate parameter.

You can optionally define the Text property as [a string] JSP Objects -> attrs ->DataSet which is the string parameter you set up earlier.

Deploy the declarative component

Having built the component you now want to deploy it to a place when it can be picked up and reused, typically by other developers in your team. Right click on the project and select Project Properties. Select Deployment from the dialog and then press New. From the resulting dialog select ADF Library JAR File and add a name for the deployment. JDeveloper will now package up the files of your declarative component and prepare it for deployment.

The next step is to actually deploy the JAR file. Select the project, right click and select Deploy -> [Deployment name] -> to ADF Library JAR. This will deploy the file to the file system. Note that in the deployment log window you will see the location of where the JAR file is being deployed. Note this.

Use the declarative component

Having deployed the reusable component to the file system you (or typically another developer) would want to use that component. From a new application go to the Resource Palette an on the yellow folder click New Connection -> File System. Enter a name for the connection and in Directory Path enter the full path to which you deployed the JAR file (do not include the name of the JAR file itself). Press OK. The ADF Library JAR you deployed earlier will now appear in this Resource palette.

You now want to add that to your new project. Select your project, select the JAR file in the resource palette right click Add to Project.

You are now able to start designing your new page. Build your page as you normally would (we'll assume an instance of a Dept table with the generic toolbar) and on the component palette you will now see a new library which includes you toolbar component.

The next step is to hook up the parameters of your toolbar so that they navigate through the Dept table. To do this you must first create the bindings. Right click on the page you are designing and select Go to Page Definition. On this page click the green plus sign on Bindings and create an actionBinding. You then select data collection/iterator and the appropriate operation. You should create action bindings for first, last, next and previous.

The final step is to hook those bindings to the method parameters of the declarative component. Select the toolbar component in the visual editor and in the property inspector you will see the method and attribute parameters you set up when you created the component. Select each of these and using expression language, assign to the appropriate bindings.

With the bindings now assigned to your declarative component you can now run the page and navigate your data set using the generic toolbar.

Friday, November 13, 2009

Oracle Database 11g Release 1(11.1)Installation On Enterprise Linux 4.5 and 5.0


This article describes the installation of Oracle Database 11g Release 1 (11.1) on Enterprise Linux 4.5 and 5.0, but these instructions work perfectly for the original Red Hat Enterprise Linux 4 and 5 distributions, or any other clones such as CentOS 4 and 5. The article is based on a server installation with a minimum of 2G swap, secure Linux disabled. Oracle recommend a default server installation, but for these installations the following package groups installed:

Oracle Enterprise Linux 4.5:
  • X Window System
  • GNOME Desktop Environment
  • Editors
  • Graphical Internet
  • Server Configuration Tools
  • Development Tools
  • Administration Tools
  • System Tools
Oracle Enterprise Linux 5.0:
  • GNOME Desktop Environment
  • Editors
  • Graphical Internet
  • Text-based Internet
  • Development Libraries
  • Development Tools
  • Server Configuration Tools
  • Administration Tools
  • Base
  • System Tools
  • X Window System
An example of these types of Linux installations can be seen in the following locations:
Alternative installations may require more packages to be loaded, in addition to the ones listed below.

Download Software

Download the following software:

Unpack Files

Unzip the files:
unzip linux_11gR1_database.zip
You should now have a single directory called "database" containing installation files.

Hosts File

The /etc/hosts file must contain a fully qualified name for the server:
ip-address  fully-qualified-machine-name  machine-name

Set Kernel Parameters

Oracle recommend the following minimum parameter settings:
kernel.shmall = 2097152
kernel.shmmax = 2147483648 # Smallest of -> (Half the size of the physical memory) or (4GB - 1 byte)
kernel.shmmni = 4096
# semaphores: semmsl, semmns, semopm, semmni
kernel.sem = 250 32000 100 128
fs.file-max = 65536 # 512 * PROCESSES
net.ipv4.ip_local_port_range = 1024 65000
net.core.rmem_default=4194304
net.core.rmem_max=4194304
net.core.wmem_default=262144
net.core.wmem_max=262144
The current values can be tested using the following command:
/sbin/sysctl -a | grep 
For Enterprise Linux 4.5, the following lines should be appended to the "/etc/sysctl.conf" file.
kernel.shmall = 2097152
kernel.shmmax = 2147483648 # Smallest of -> (Half the size of the physical memory) or (4GB - 1 byte)
kernel.shmmni = 4096
# semaphores: semmsl, semmns, semopm, semmni
kernel.sem = 250 32000 100 128
net.ipv4.ip_local_port_range = 1024 65000
net.core.rmem_default=4194304
net.core.rmem_max=4194304
net.core.wmem_default=262144
net.core.wmem_max=262144
For Enterprise Linux 5.0, the following lines should be appended to the "/etc/sysctl.conf" file.
kernel.shmmni = 4096
# semaphores: semmsl, semmns, semopm, semmni
kernel.sem = 250 32000 100 128
net.ipv4.ip_local_port_range = 1024 65000
net.core.rmem_default=4194304
net.core.rmem_max=4194304
net.core.wmem_default=262144
net.core.wmem_max=262144
Run the following command to change the current kernel parameters:
/sbin/sysctl -p
Add the following lines to the /etc/security/limits.conf file:
oracle              soft    nproc   2047
oracle hard nproc 16384
oracle soft nofile 1024
oracle hard nofile 65536
Add the following line to the /etc/pam.d/login file, if it does not already exist:
session    required     pam_limits.so
Disable secure linux by editing the /etc/selinux/config file, making sure the SELINUX flag is set as follows:
SELINUX=disabled
Alternatively, this alteration can be done using the GUI tool (Applications > System Settings > Security Level). Click on the SELinux tab and disable the feature. If SELinux is disabled after installation, the server will need a reboot for the change to take effect.

Setup

Install the following packages for Enterprise Linux 4.5:
# From Enterprise Linux 4 Disk 1
cd /media/cdrom/Enterprise/RPMS
rpm -Uvh binutils-2.*
rpm -Uvh elfutils-libelf-0.*
rpm -Uvh glibc-2.*
rpm -Uvh glibc-common-2.*
rpm -Uvh libgcc-3.*
rpm -Uvh libstdc++-3.*
rpm -Uvh compat-libstdc++-33*
rpm -Uvh make-3.*
rpm -Uvh unixODBC-2.*
cd /
eject

# From Enterprise Linux 4 Disk 2
cd /media/cdrom/Enterprise/RPMS
rpm -Uvh glibc-devel-2.*
rpm -Uvh gcc-3.*
rpm -Uvh gcc-c++-3.*
rpm -Uvh libstdc++-devel-3.*
cd /
eject

# From Enterprise Linux 4 Disk 3
cd /media/cdrom/Enterprise/RPMS
rpm -Uvh libaio-0.*
rpm -Uvh libaio-devel-0.*
rpm -Uvh sysstat-5.*
cd /
eject

# From Enterprise Linux 4 Disk 4
cd /media/cdrom/Enterprise/RPMS
rpm -Uvh elfutils-libelf-devel-0.*
rpm -Uvh unixODBC-devel-2.*
cd /
eject
Install the following packages for Enterprise Linux 5.0:
# From Enterprise Linux 5 Disk 1
cd /media/cdrom/Server
rpm -Uvh binutils-2.*
rpm -Uvh elfutils-libelf-0.*
rpm -Uvh glibc-2.*
rpm -Uvh glibc-common-2.*
rpm -Uvh libaio-0.*
rpm -Uvh libgcc-4.*
rpm -Uvh libstdc++-4.*
rpm -Uvh make-3.*
cd /
eject

# From Enterprise Linux 5 Disk 2
cd /media/cdrom/Server
rpm -Uvh compat-libstdc++-33*
rpm -Uvh elfutils-libelf-devel-0.*
rpm -Uvh glibc-devel-2.*
rpm -Uvh gcc-4.*
rpm -Uvh gcc-c++-4.*
rpm -Uvh libaio-devel-0.*
rpm -Uvh libstdc++-devel-4.*
rpm -Uvh unixODBC-2.*
rpm -Uvh unixODBC-devel-2.*
cd /
eject

# From Enterprise Linux 5 Disk 3
cd /media/cdrom/Server
rpm -Uvh sysstat-7.*
cd /
eject
Create the new groups and users:
groupadd oinstall
groupadd dba
groupadd oper
groupadd asmadmin

useradd -g oinstall -G dba,oper,asmadmin oracle
passwd oracle
Note. We are not going to use th "asmadmin" group, since this installation will not use ASM.

Create the directories in which the Oracle software will be installed:
mkdir -p /u01/app/oracle/product/11.1.0/db_1
chown -R oracle:oinstall /u01
chmod -R 775 /u01
Login as root and issue the following command:
xhost +
Login as the oracle user and add the following lines at the end of the .bash_profile file:
# Oracle Settings
TMP=/tmp; export TMP
TMPDIR=$TMP; export TMPDIR

ORACLE_HOSTNAME=oel45.localdomain; export ORACLE_HOSTNAME
ORACLE_BASE=/u01/app/oracle; export ORACLE_BASE
ORACLE_HOME=$ORACLE_BASE/product/11.1.0/db_1; export ORACLE_HOME
ORACLE_SID=DB11G; export ORACLE_SID
ORACLE_TERM=xterm; export ORACLE_TERM
PATH=/usr/sbin:$PATH; export PATH
PATH=$ORACLE_HOME/bin:$PATH; export PATH

LD_LIBRARY_PATH=$ORACLE_HOME/lib:/lib:/usr/lib; export LD_LIBRARY_PATH
CLASSPATH=$ORACLE_HOME/JRE:$ORACLE_HOME/jlib:$ORACLE_HOME/rdbms/jlib; export CLASSPATH

if [ $USER = "oracle" ]; then
if [ $SHELL = "/bin/ksh" ]; then
ulimit -p 16384
ulimit -n 65536
else
ulimit -u 16384 -n 65536
fi
fi

Installation

Log into the oracle user. If you are using X emulation then set the DISPLAY environmental variable:
DISPLAY=:0.0; export DISPLAY
Start the Oracle Universal Installer (OUI) by issuing the following command in the database directory:
./runInstaller
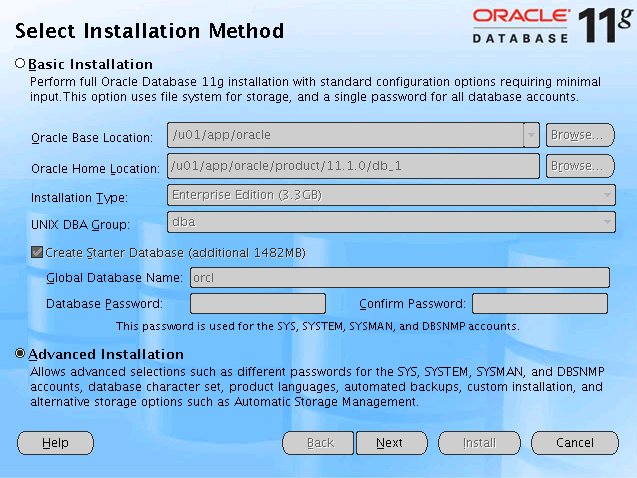
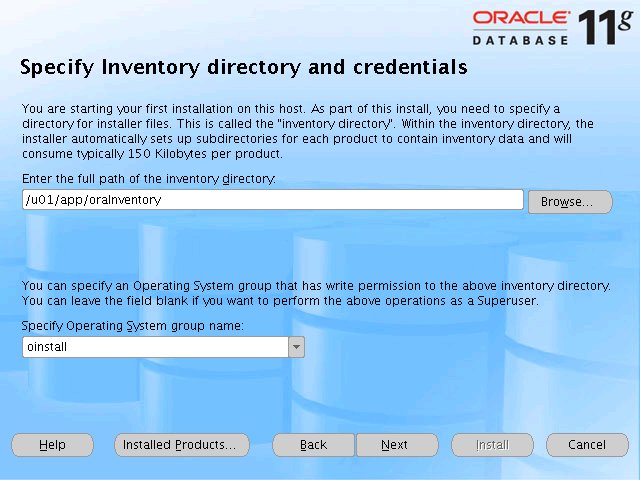
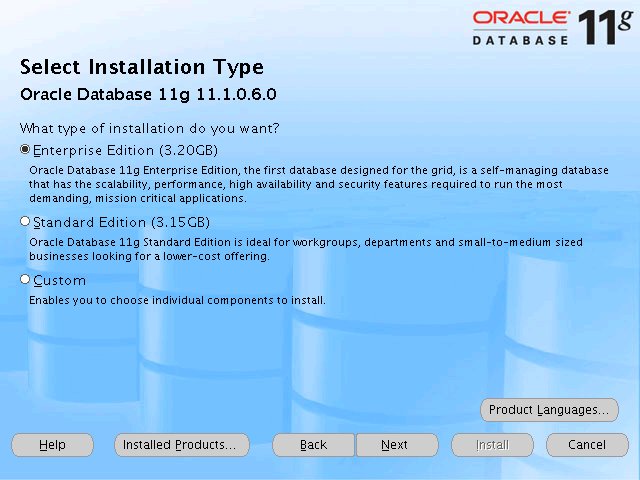
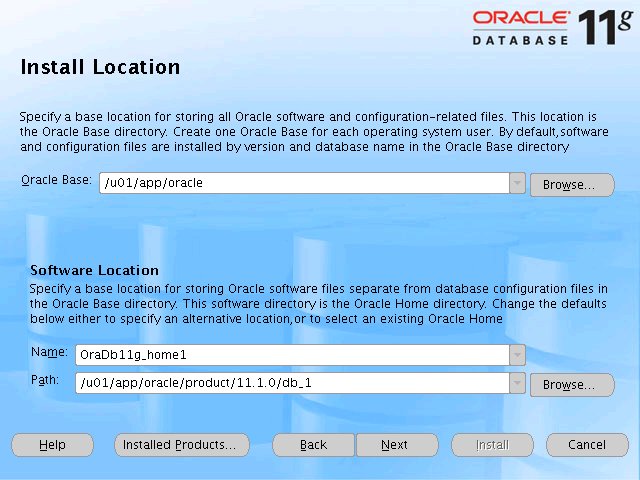
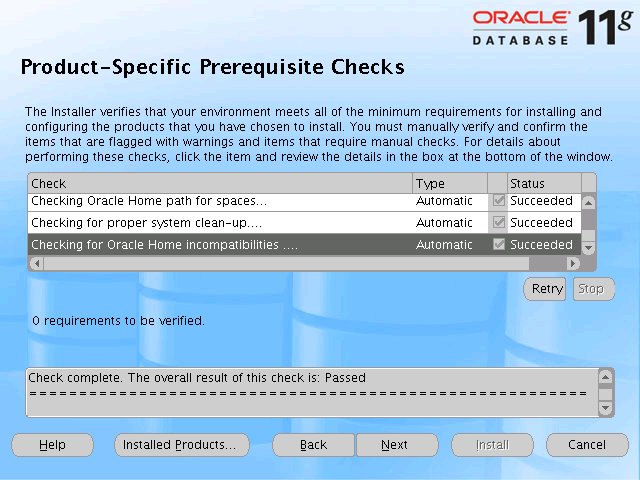
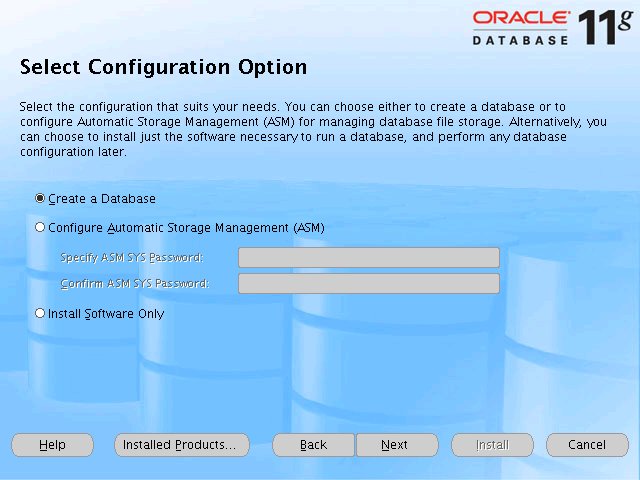
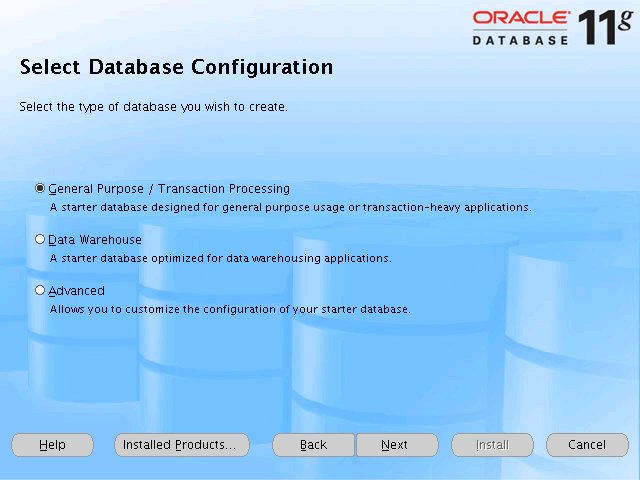
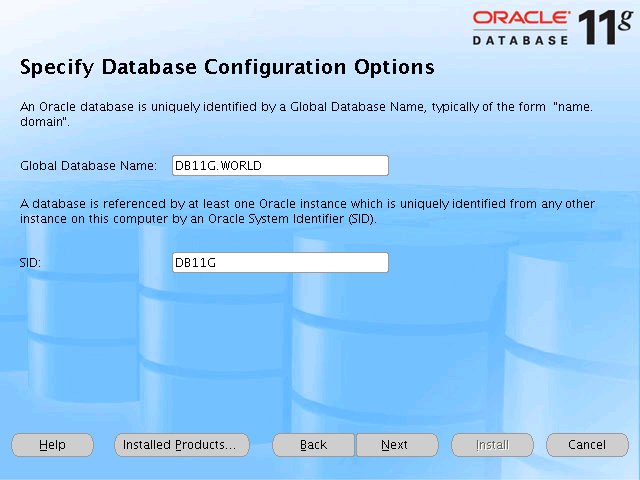
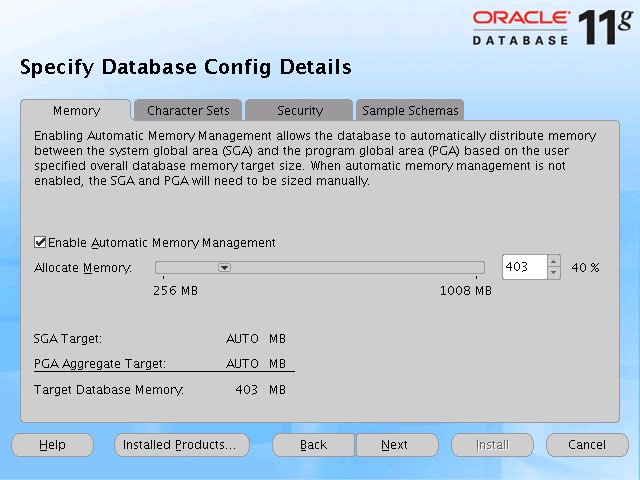
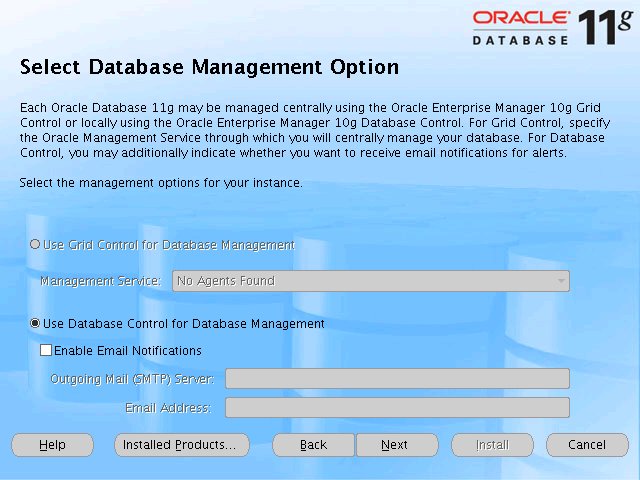
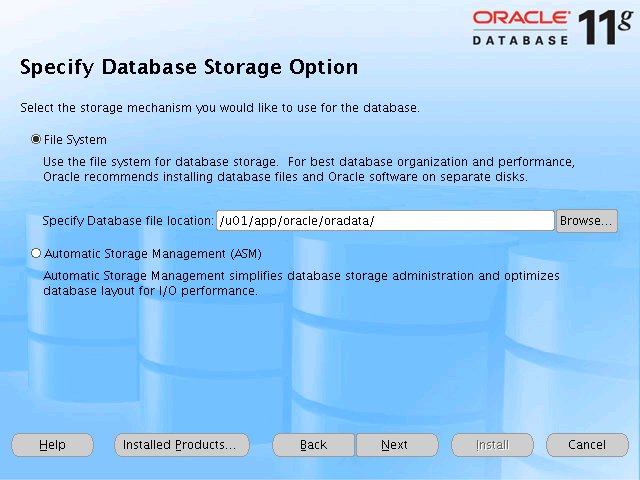
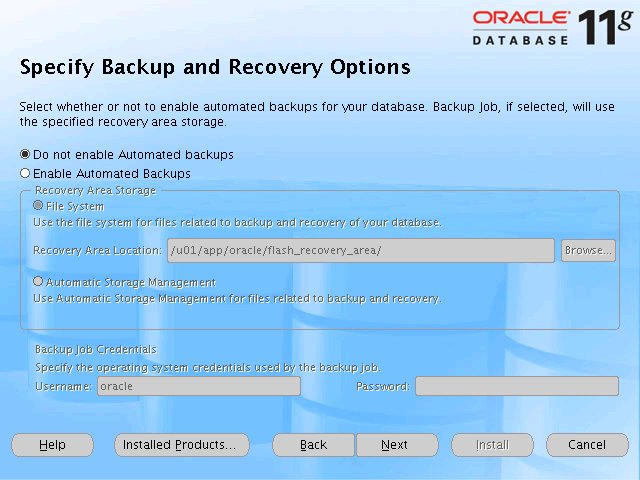
During the installation enter the appropriate ORACLE_HOME and name then continue installation. For a more detailed look at the installation process, click on the links below to see screen shots of each stage.
  1. Select Installation Method
  2. Specify Inventory Directory and Credentials
  3. Select Installation Type
  4. Install Location
  5. Product-Specific Prerequisite Checks
  6. Select Configuration Option
  7. Select Database Configuration
  8. Specify Database Configuration Options
  9. Specify Database Configuration Details
  10. Select Database Management Option
  11. Specify Database Storage Option
  12. Specify Backup and Recovery Options
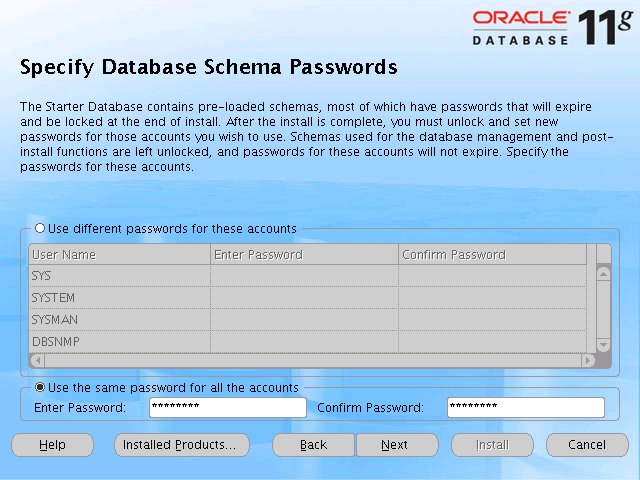
  13. Specify Database Schema Passwords
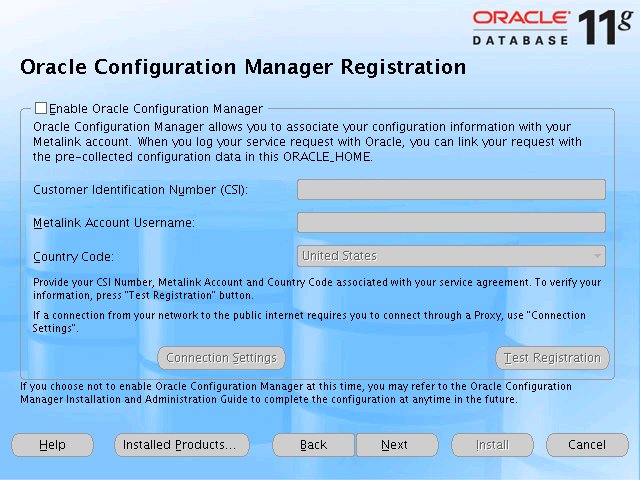
  14. Oracle Configuration Manager Registration
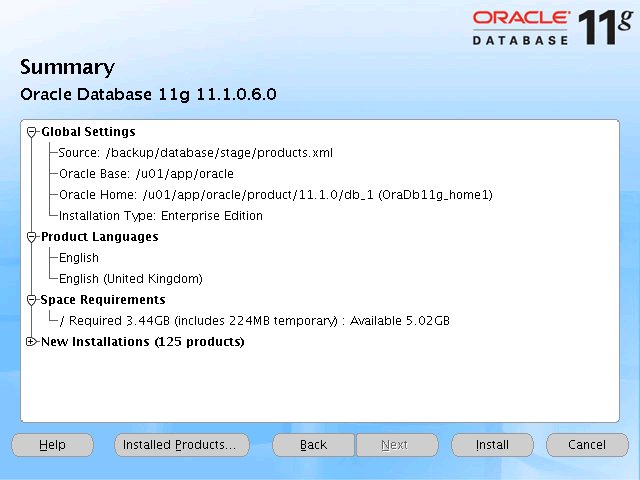
  15. Summary
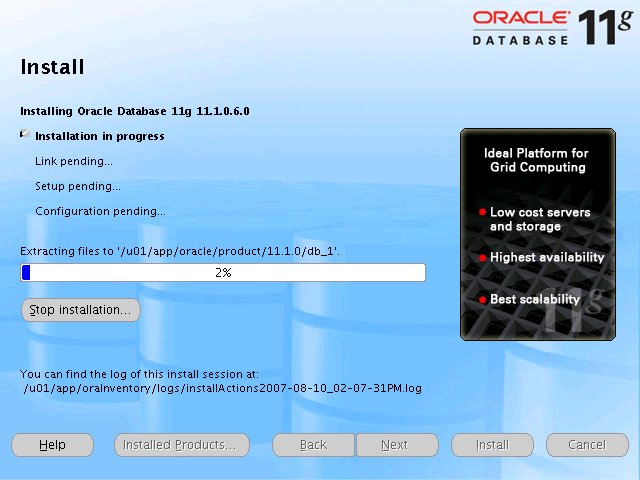
  16. Install
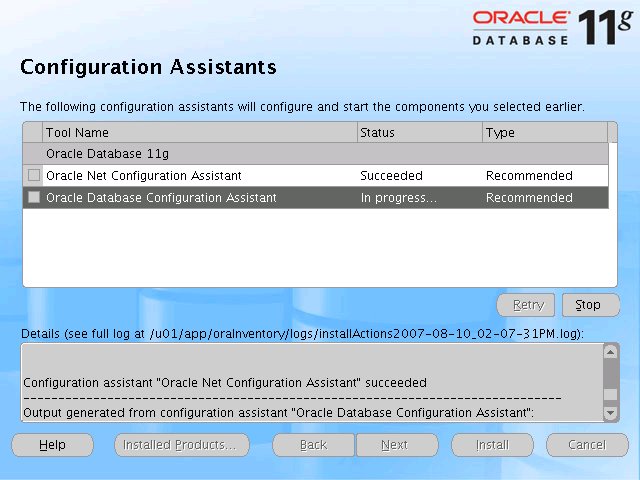
  17. Configuration Assistants
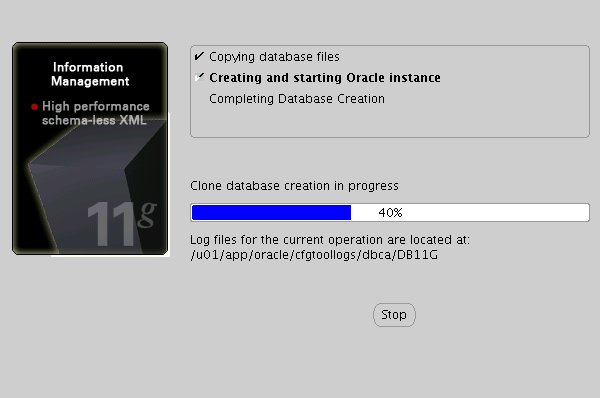
  18. Database Configuration Assistant
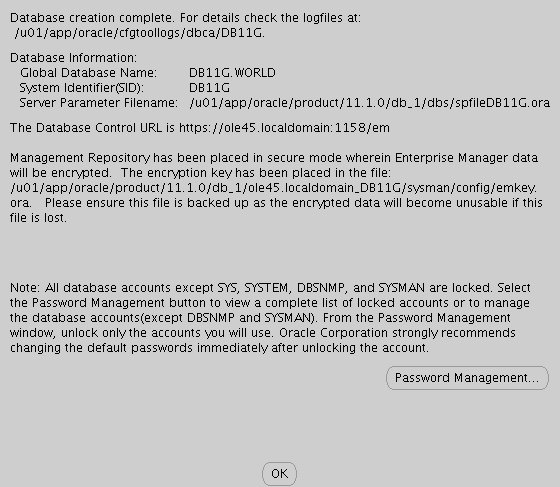
  19. DatabaseConfiguration Assistant Summary
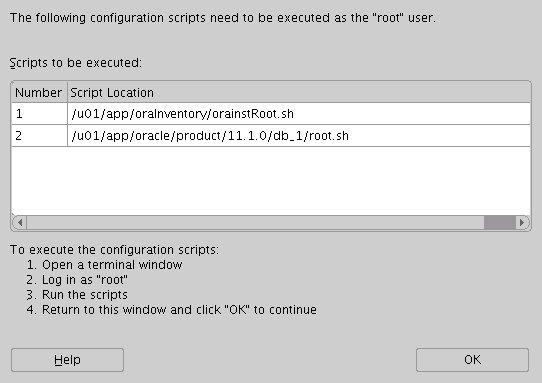
  20. Execute Configuration Scripts
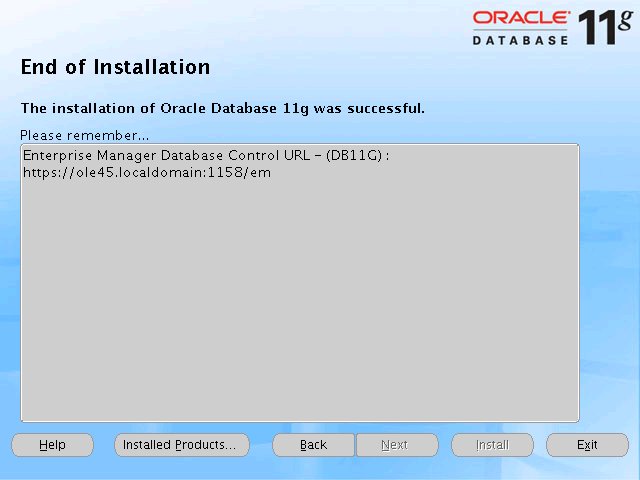
  21. End of Installation
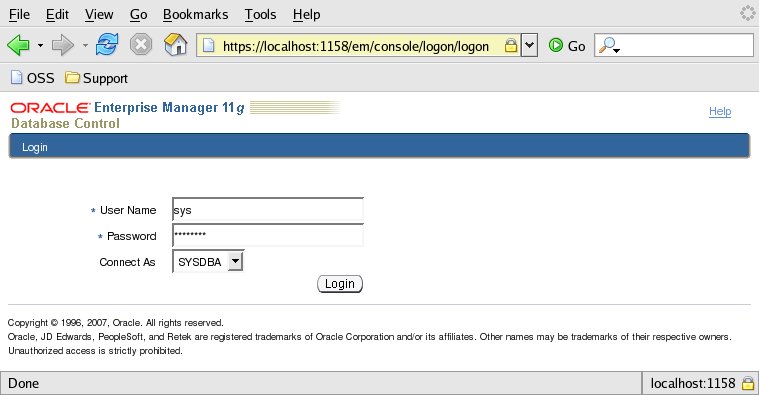
  22. OEM Database Control Login
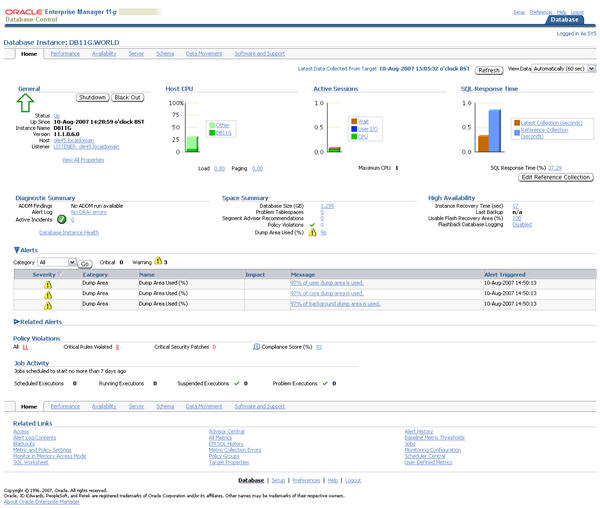
  23. OEM Database Control

Post Installation

Edit the /etc/oratab file setting the restart flag for each instance to 'Y':
DB11G:/u01/app/oracle/product/11.1.0/db_1:Y
For more information see:
Hope this helps. Regards Kiran Sankpal...